Quickstart
This guide walks you through creating a thread, adding a repo, and verifying everything works. Use the desktop app or the CLI — both do the same thing.
Create a Thread
Section titled “Create a Thread”Desktop App: Click New Thread in the sidebar, enter a name, and press create.
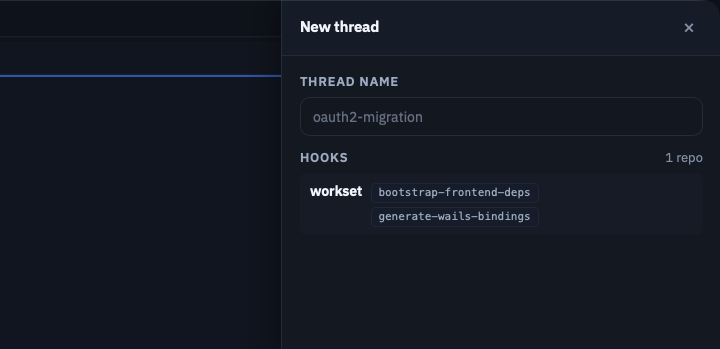
CLI:
workset new demoA thread is an isolated workspace for a focused unit of work.
Add a Repo
Section titled “Add a Repo”Desktop App: Click Add Repo in the thread view, paste or search for a repo URL.
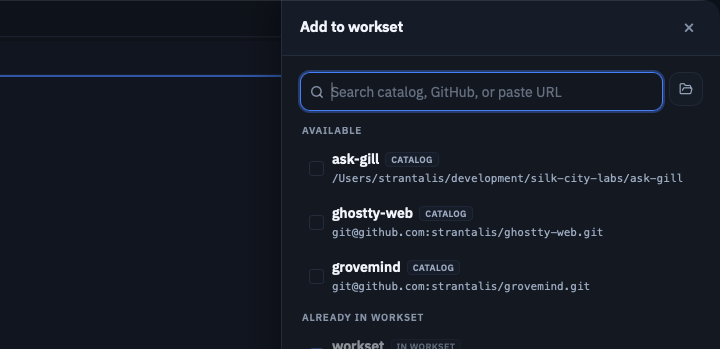
CLI:
workset repo add https://github.com/your/org-repo.git -t demoSSH works too: workset repo add git@github.com:your/org-repo.git -t demo
Workset clones the repo into a linked worktree under the thread directory. Your main clone stays clean.
Check Status
Section titled “Check Status”Desktop App: The explorer shows your threads, repos, and their current state.
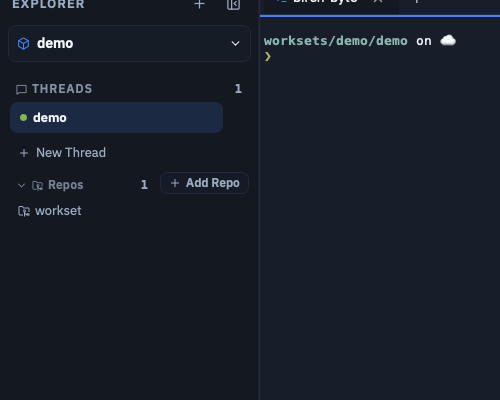
CLI:
workset status -t demoSet a Default Thread (Optional)
Section titled “Set a Default Thread (Optional)”workset config set defaults.thread demoOnce set, you can omit -t demo for most CLI commands. The desktop app remembers your last active thread automatically.
What Just Happened
Section titled “What Just Happened”- A thread directory was created with
workset.yamland.workset/state. - The repo was cloned as a linked worktree — no duplicate
.gitdata on disk. - The thread captures intent: “these repos move together for this branch of work.”
Next Steps
Section titled “Next Steps”- Read about Concepts to understand worksets, threads, and registered repos.
- Review Config to customize defaults.
- Explore the Desktop App guide for the full app experience.